So here's what I settled on to design my redneck tent trailer air conditioning:

- 5000 BTU window air conditioner
- 4" x 8 ft. dryer vent hose kit
- plastic base roof flashing
- 4" louvered square dryer vent
- 17" white single drawer wire basket
- Coke Zero (they didn't have Mountain Dew)
Total price: $170
... Plus dome other stuff in my garage which you'll see in a minute.
How to:
1. Trim roof flashing to fit over the cool blower vent on the front of the AC. It helps if you don't measure... Just hold it up and eyeball it. The hard part is getting the flat flashing to conform to the not-straight vent on the AC.
Your trimmed flashing should look like this:

... And will roughly fit like this:

2. Install the insulation strips that came with the AC to the contact side of the flashing. I don't know if this does anything or not, but why throw it away?

Since the flashing wants to stay flat, I cut some strips from left over pipe insulation from a project to make my trout landing net float and some spray adhesive a kid left in my classroom in 2008 to build up a little edge and create a tighter seal:

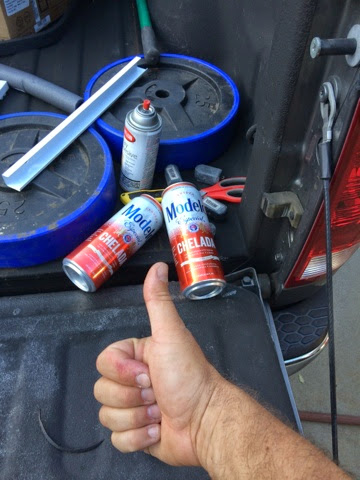
Rock cod sinkers were used to help the glue set while I sipped a Modelo Chelada.
3. Cut out flashing hole to receive rigid dryer vent plastic thingy. Leave a little bit in there to create an airtight seal.


5. Force the 4" louvered square vent receiver into the 4" plastic end thingy on the dryer vent hose. Duct tape liberally.

7. Open your Coke Zero, because you're done. Plan your responses to smart alecky campers who scoff at your redneck powers when they see your DIY ingenuity. They're just jealous, after all.6. Place the metal basket upside down on the ground near your tent trailer. Place the AC unit on top of the basket, attach all hoses, and insert square vent into a convenient zippered or Velcro opening on your tent trailer. Insulate the opening with a Nascar themed tshirt, a giveaway rally towel, cardboard, or anything else to keep the skeeters outside and the cold air in.

Don't place the AC unit directly on the ground, so it doesn't suck up dirt and dust and spilled Bugler tobacco.
In retrospect, I could have saved a little money and added to the overall theme of this project by using a stolen milk crate in place of the wire basket, but it is large enough to hold the AC unit in transport, so that saves limited space. Another flashing and length of dryer vent could be used to access the inside return on the front of the AC unit. As it stands right now, this system is only half efficient: cold air blows in, but no warm air is pulled out.
Anyway, thought you'd enjoy. Happy camping this summer everyone, and stay cool.
No comments:
Post a Comment